![]()
![]()
![]()
![]()

![]()
![]()
![]()
![]()
![]()
![]()
![]()
![]()
![]()
![]()
![]()
![]()
|
|
|
|
Forward Holding Tank Replacement- 2003 - There is no worse smell in the whole wide world than that of a leaking holding tank. If you have never smelled it, count your blessings. If you have smelled it, you know what I am talking about. Annabelle is large enough to have two separate heads, located far enough apart that they require separate holding tanks. The standard for the 1979 Morgan Out Island 41 was two 15 gallon rubber bladder tanks. The concept of a bladder tank is great - easy to get into an area through a smaller hole, fit uneven areas, and no vent needed. Unfortunately the forward holding tank on Annabelle became permeated with the dreaded holding tank odor and the inside of the boat began to smell. I did a search for bladder tanks, but never found what I felt was a heavy enough unit. So I turned to replacing it with a polyethylene tank from Raritan Engineering. They make a large assortment of tanks for water or sewage in sizes from 5 gallons to 260 gallons. You can download their catalog from their web site. At first it appeared that I would have to settle for a new tank smaller than the original bladder tank - this was not what I had in mind.
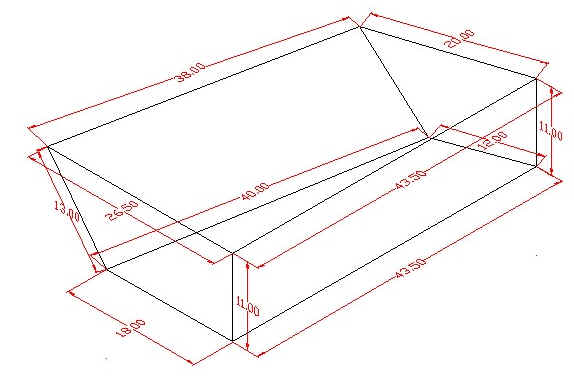
The above drawing shows the area that had been used by the bladder tank. It is a good size, but has an unusual shape. There was more space available below the "floor" and "front wall" if I were willing to tear these panels out. I was and ended up with a space large enough to hold a 20 gallon tank - including the overhead room needed for the fittings. I called the factory and spoke to an engineer and told him I had a bladder tank they made in 1979 that needed to be replaced. It got to be sort of funny - he told me they had never made bladder tanks, but after reading him the name and address of Raritan off the tank it piqued his curiosity and he said he was going to have to investigate this. I was then passed to the gentleman who takes the orders and was instructed to make a drawing of the tank with where and what size I wanted the fittings to be and fax it to him. With this done, he drew an engineering drawing and returned it to me for verification. With my confirmation and credit card number, an order was placed and a couple of weeks later my tank arrived. Installation was straight forward - the hardest bit being the installation of two vents through the hull. I took Annabelle over to Sailcraft Services where I had previously worked and was able to use a floating dock to drill the holes and mount the vents. I installed a float monitor with the LED warning light in the forward head. The tank has performed flawlessly and that dreaded odor is no longer present.
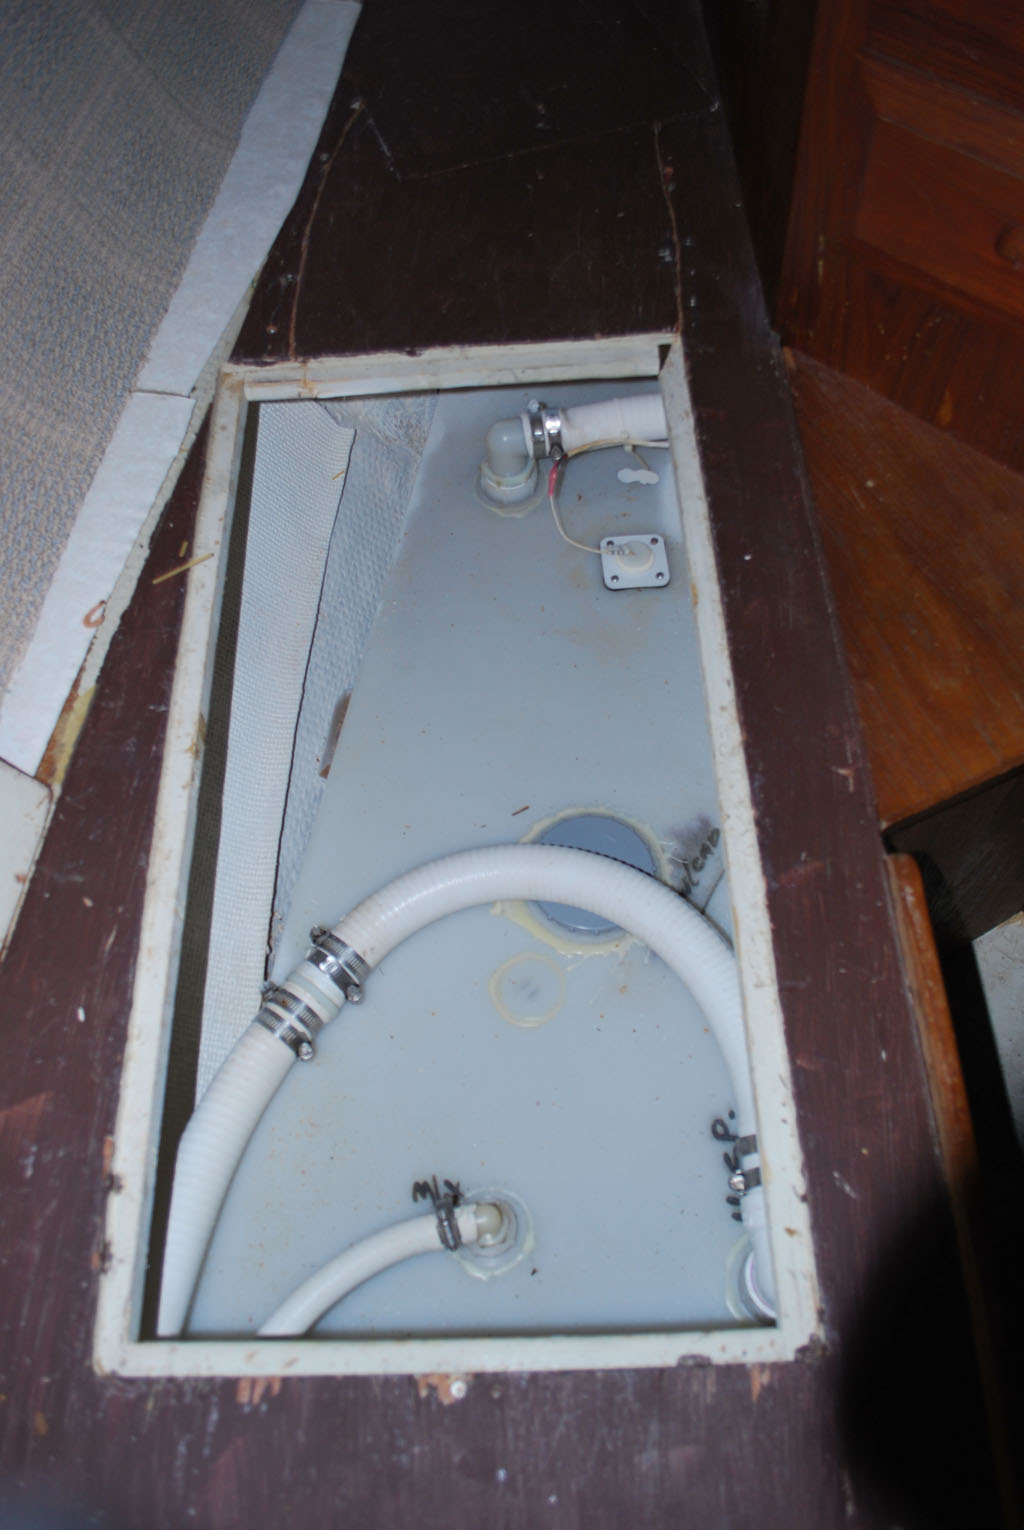
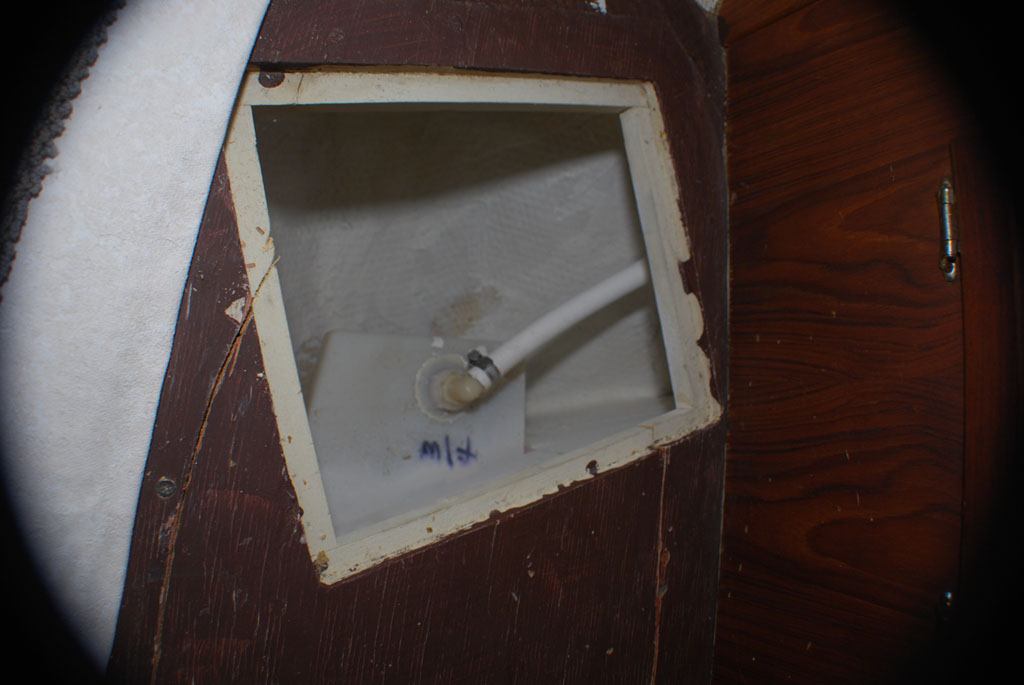
The forward hose in the first two pictures is the inlet for the waste. The large hose in the shape of a U is the removal line for the waste. The small hose at the aft is a vent line. The third picture also shows another vent line.
Here is the view looking down on the small forward storage are and one of the vent lines.
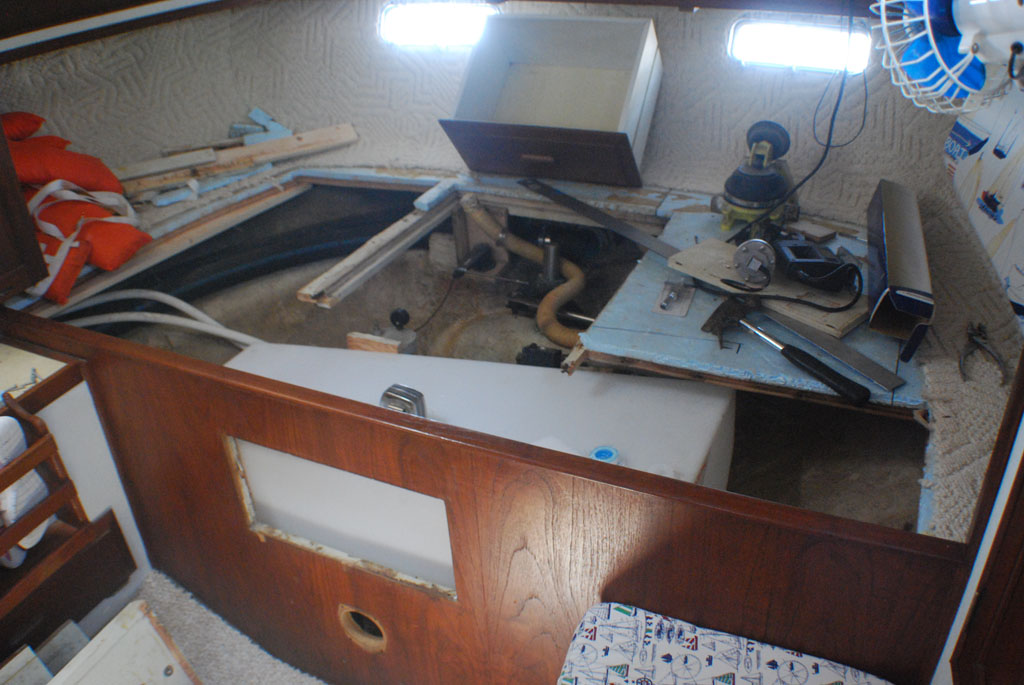
Aft Holding Tank - 2009 - While the aft bladder holding tank had not become permeated, we decided that it was time for a larger tank. The only location with enough volume to put a new tank was under the main berth in the aft cabin. Being of an odd shape, I eventually cut out most of the top cover so I could take accurate measurements for determining what tank Raritan Engineering had that I could squeeze in. In the end we settled on a 33 gallon tank. Delivered, the tank was just over $400. A small amount of sewage odor we used to contend with has disappeared with the removal of the bladder tank. Here is a photo essay of the tank installation: Here is the tank sitting on the dock waiting for installation.
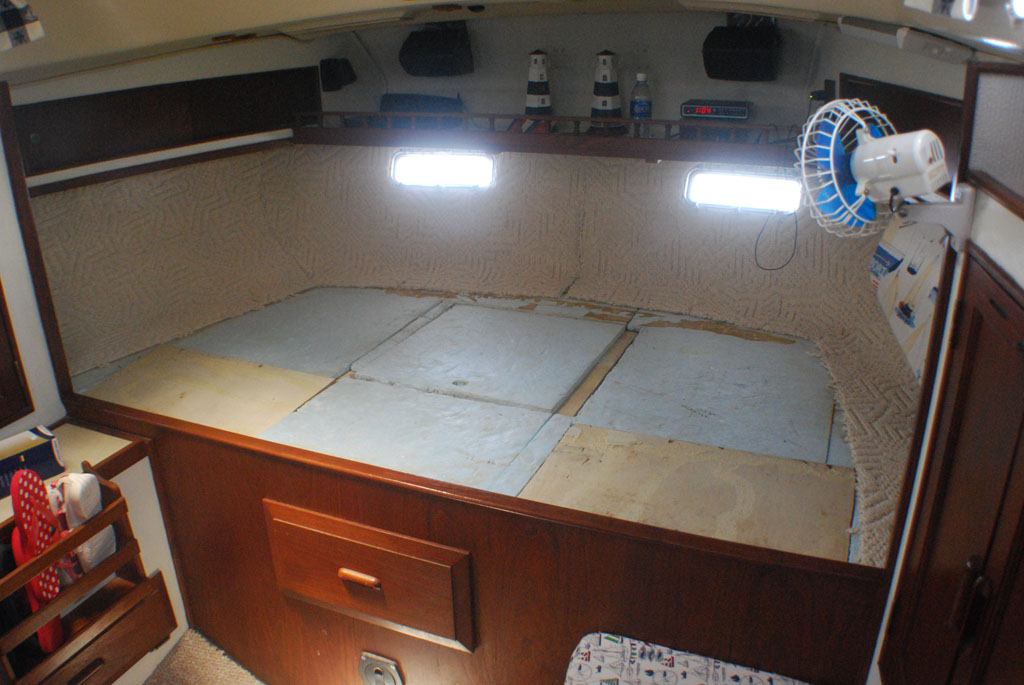
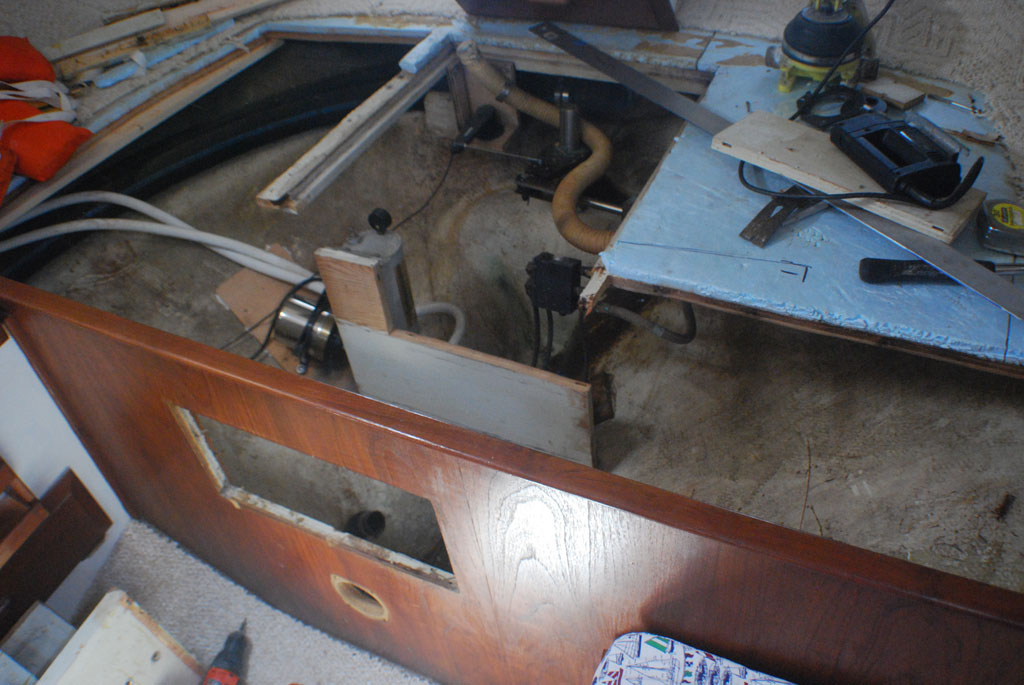
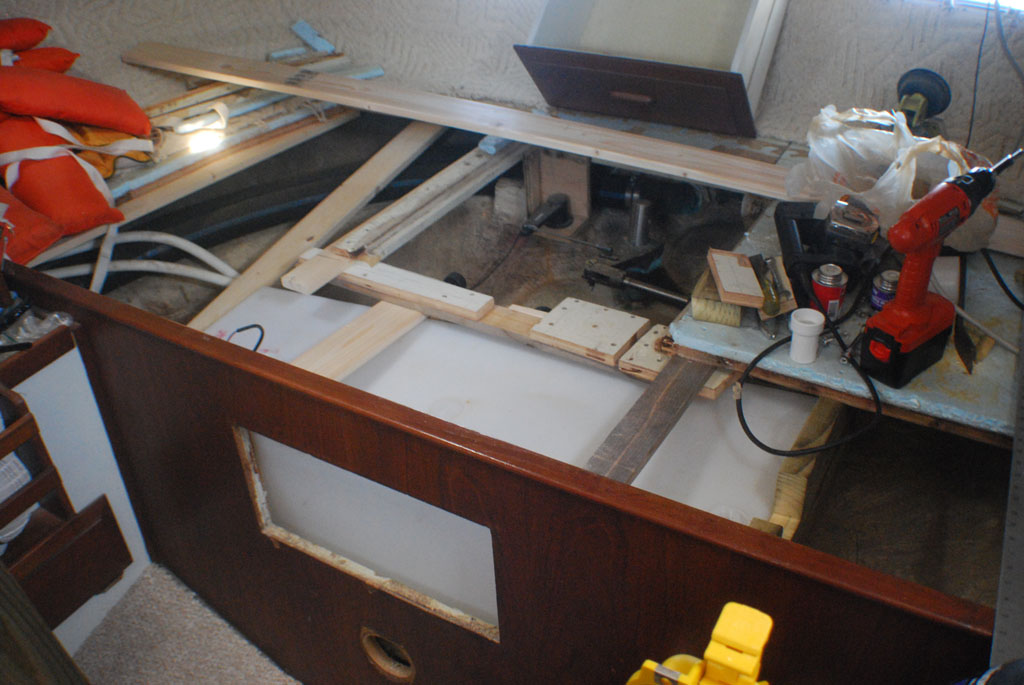
The aft cabin before the demolition.
All the bed stuff removed exposing the area to be cut open.
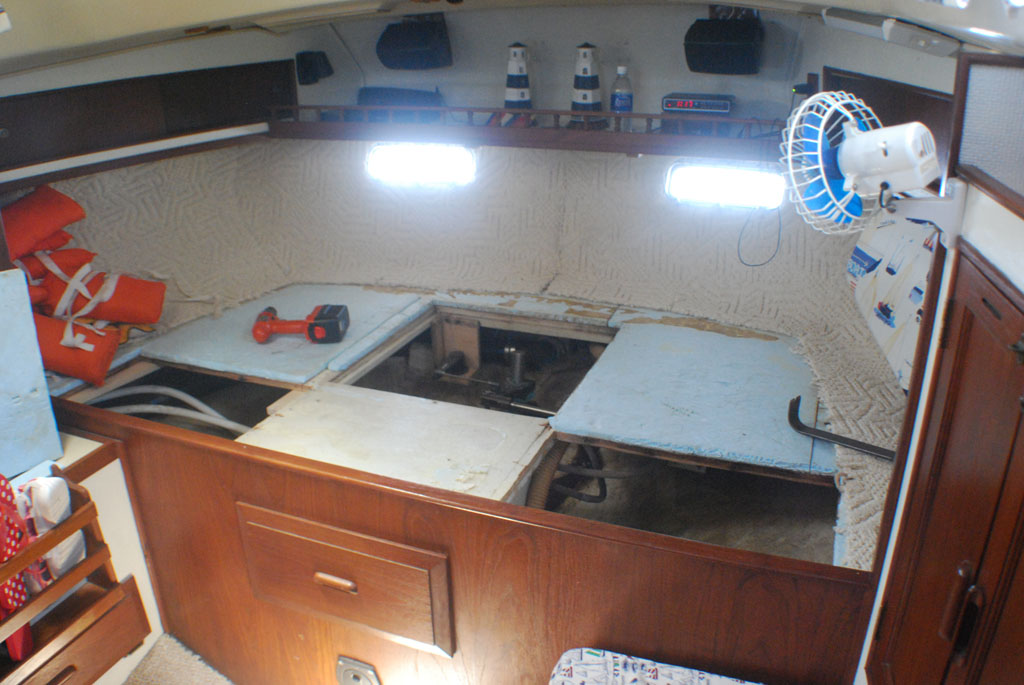
The covers that are removable have been removed.
The demolition begins in earnest.
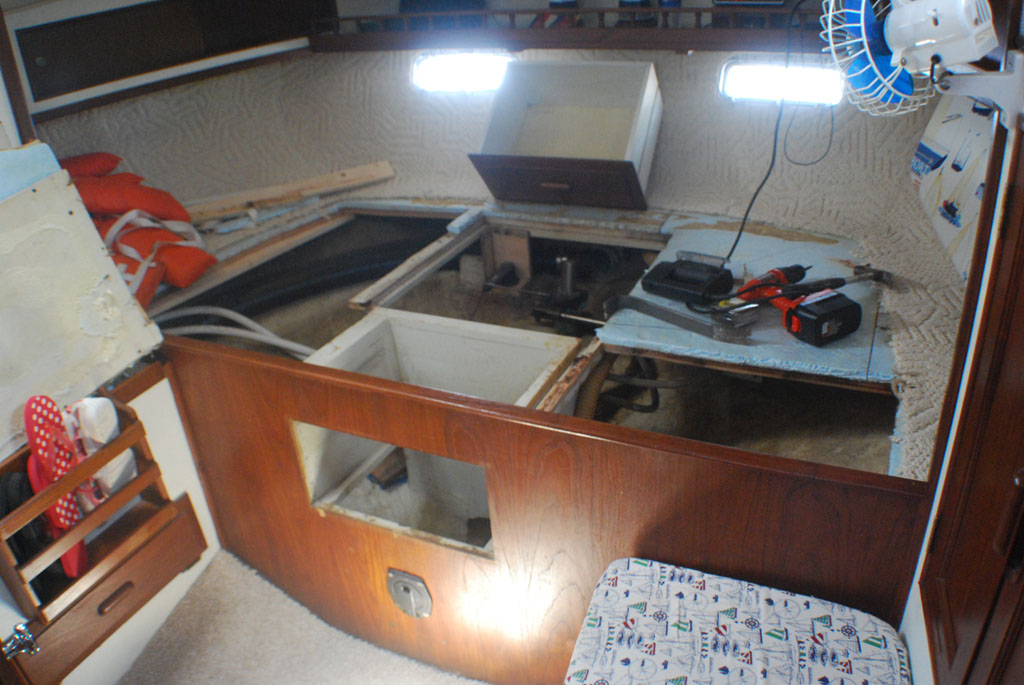
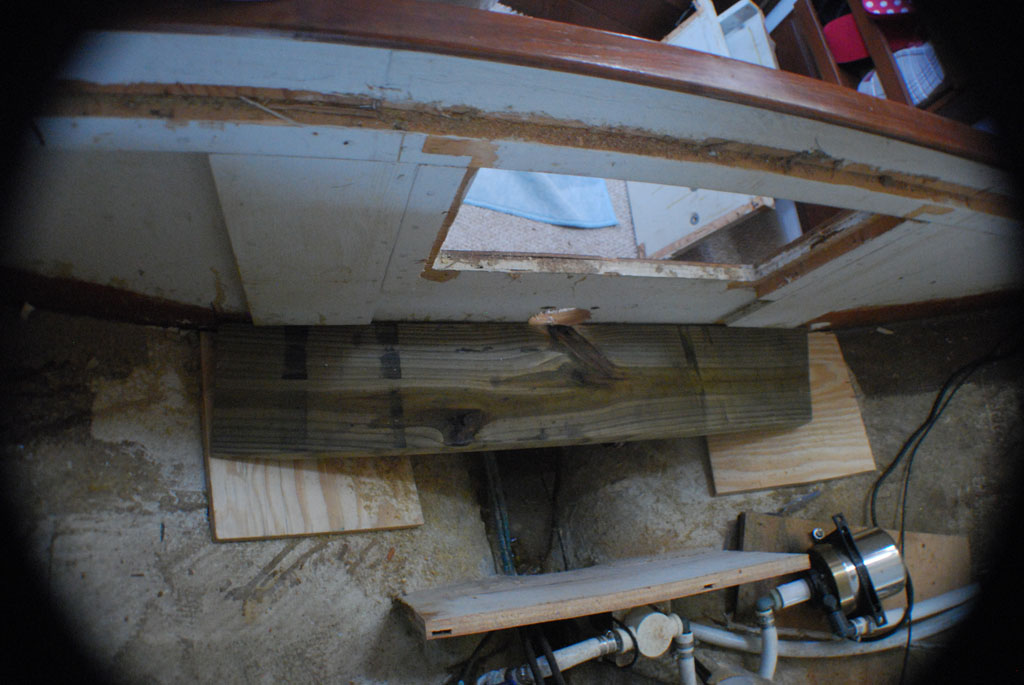
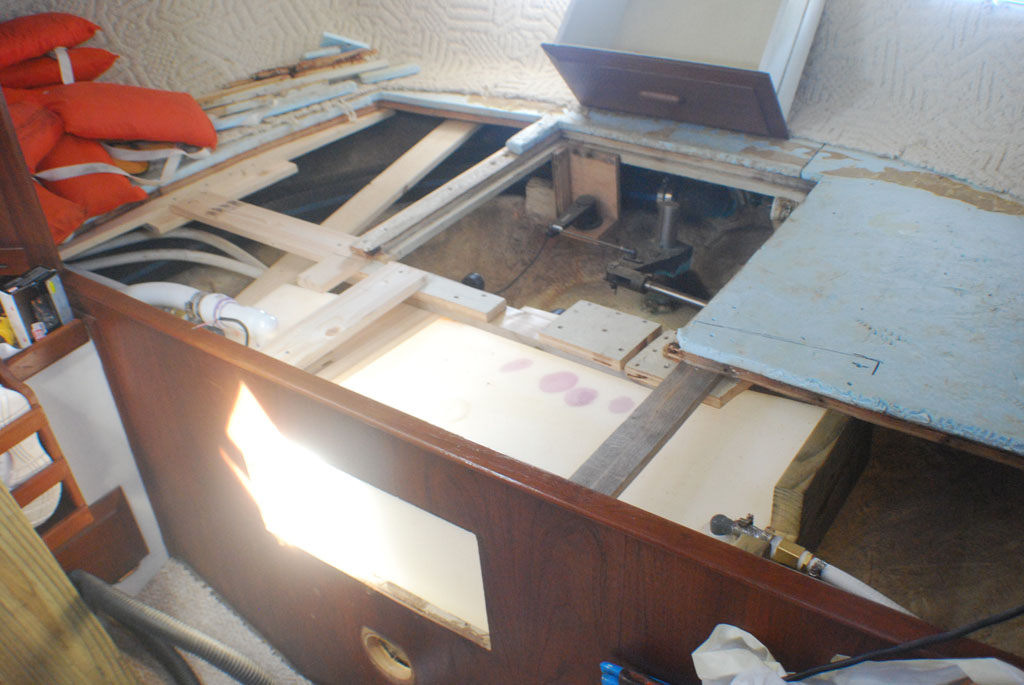
The drawer support has been removed.
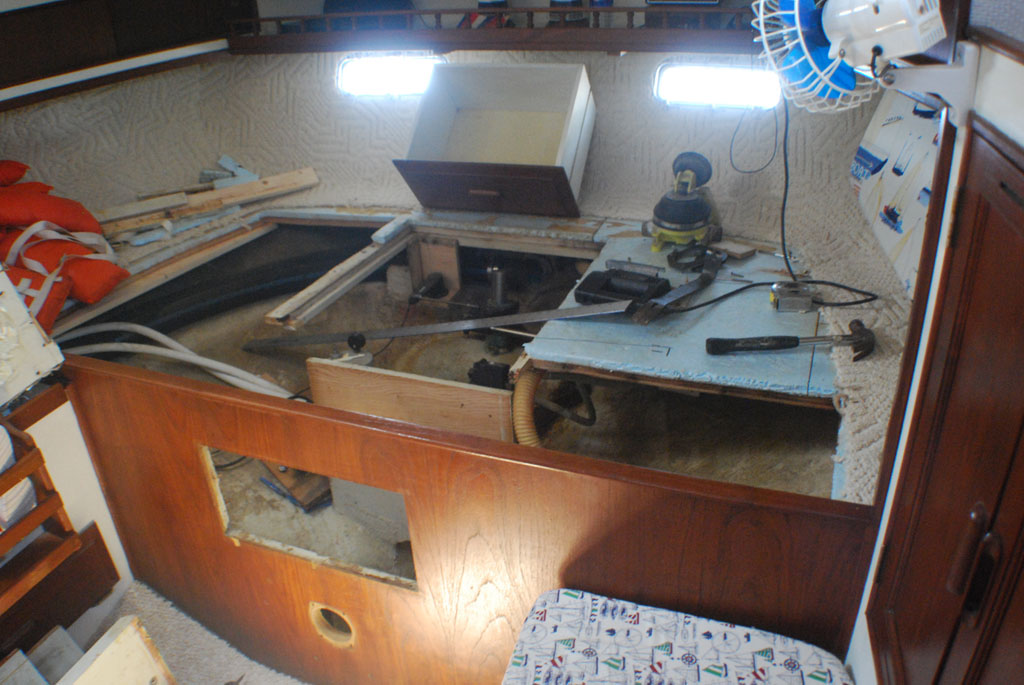
The support for the hydraulic steering reservoir has been cut out.
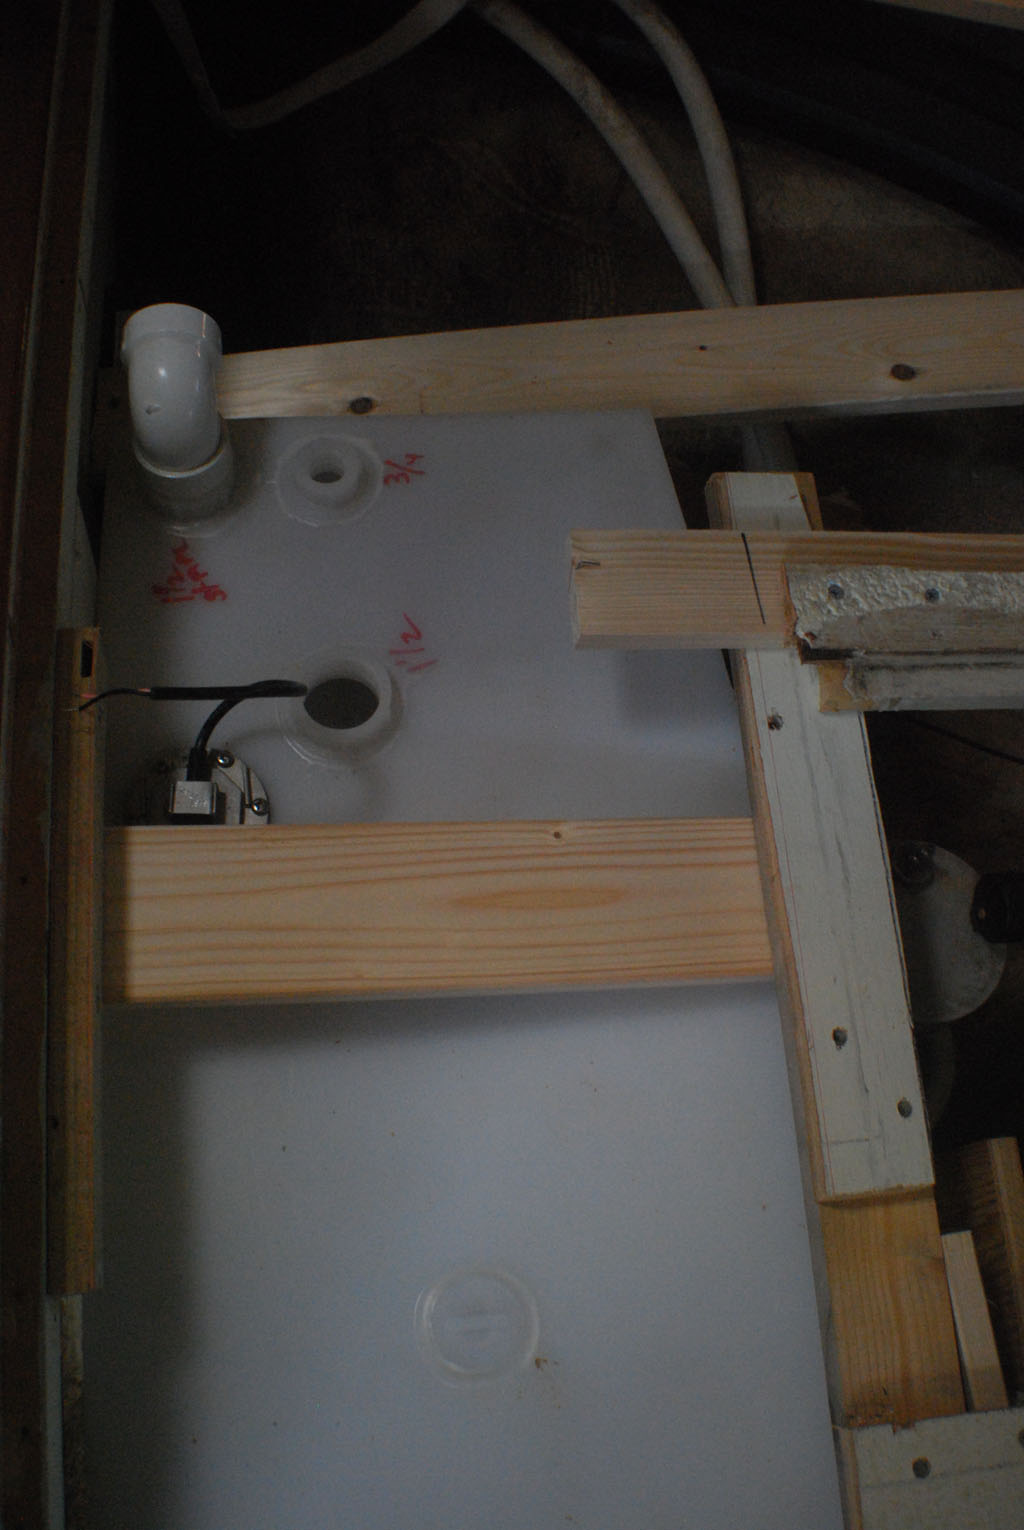
First fitting of the tank.
Support being provided under the tank for the tank to rest on.
Looking from aft at the new support for the hydraulic steering
reservoir and autopilot fluxgate
Looking at the tank installed with some of the bracing
More bracing.
And the final bracing - remember, a full holding tank is heavy and the last thing you want is 33 gallons of waste crashing around!
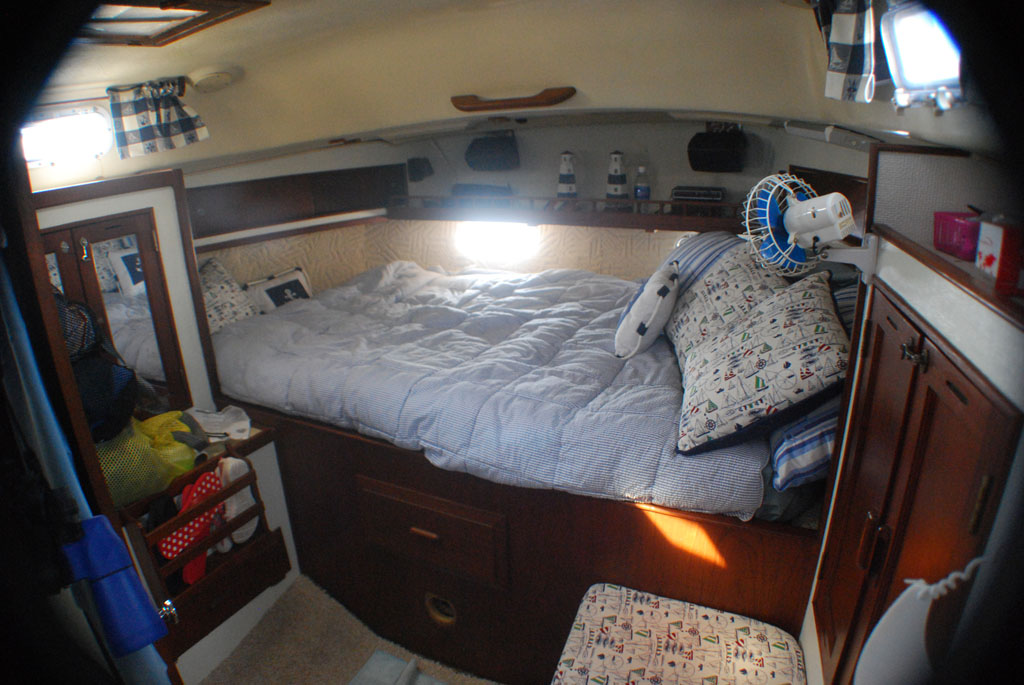
The aft cabin after installation. I still need to put a cover over where the manual bilge pump was installed. |
|
Please address general comments to web@dv-fansler.com This page was last modified:
01/22/14 |